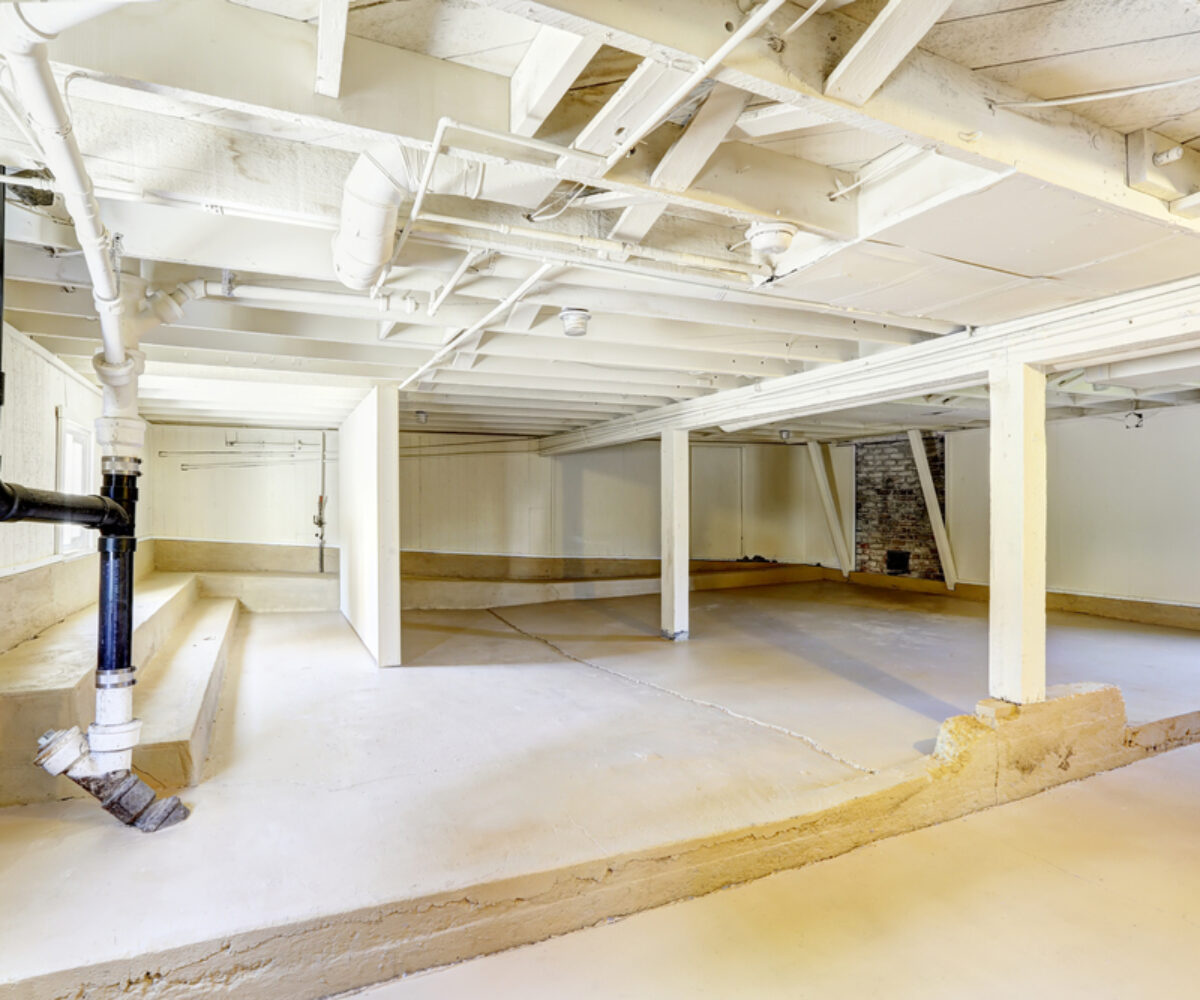
8 Steps to Take Before Finishing Your Basement

1. Check the foundation
Identifying and correcting foundation problems prevents enumerable headaches and additional expenses down the road. Carefully examine the foundation for cracks and crevices that indicate existing or potentially extensive damage. Have them inspected and repaired by a professional.
2. Identify water issues, and waterproof
Note any signs of water leakage such as pools of water, dripping walls, and condensation. Look for cracks that may be allowing water in. Also check appliances such as water heaters and washers, and exposed water lines to make sure they are working properly. Address any problems to prevent mold growth and water damage to new construction and fixtures. Proper grading, which allows for the ground to slope away from the home and downspout extensions that divert water at least 10 feet away from the foundation, helps keep the basement dry and prevent further damage. If there is already mold present, have it removed and address the source so it doesn’t come back. Repair cracks and consider installing a sump pump to address ongoing water problems. Vapor barriers and mold-resistant drywall can also help keep your new basement free of moisture.
3. Check permit requirements
Basement finishing almost always requires a permit and inspections. Understand the applicable building codes before beginning your project to avoid having to redo work in order to comply. Building codes address a variety of issues including staircase dimensions, ingress/egress issues, ceiling height, and electrical and plumbing work–just to name a few.
4. Run a radon test
Radon is a naturally occurring gas that has been linked to health risks. The Environmental Protection Agency (EPA) advises homeowners to conduct a radon test on the lowest lived-in level of their home. If unsafe levels are discovered, fixing the problem is generally easier and less expensive before the basement is finished. Test kits can be found in home improvement stores.
5. Examine the basement windows
Incorporate the replacement of old, rotting, inefficient windows into the basement finishing plans. Improperly installed windows can be a source of water leaks, so professional installation is recommended. Make sure the windows meet IRC requirements for egress.
6. Check the exterior
Keep soil away from the foundation and regularly clean gutters. Address any potential hazards that could compromise the integrity of your project.
7. Organize and relocate your belongings
Unfinished basements often become a home’s default storage area. Before construction begins, remove all belongings so that nothing is in the way. Take this opportunity to organize, recycle, donate or permanently relocate these items.
8. Research and interview basement finishing companies
Don’t assume that the company offering the lowest price can give you the best finished product. Don’t be afraid to ask for customer references, and follow up with them. Check for online reviews. Ask if the company is licensed and insured. How do they communicate with clients and trades? What is the payment structure–how much are you expected to pay up-front? Is there a contract to sign–what about a spec sheet? Consider all aspects of the basement finish company before signing on the dotted line.

