What Are the Dos and Don’ts of Basement Finishing?
Looking to add livable square footage to your home? Before talking to an architect about designing an addition to your home, why not look at what’s already directly underfoot—the basement of your home. Often viewed as nothing more than storage for holiday décor and out-of-season sports equipment, basements are often underutilized as living space. When viewed in terms of cash outlay, however, the cost-per-square-foot to finish a basement proves far less than that of increasing square footage by building an addition to the home, as the foundation, exterior walls, and plumbing and electrical lines are already in place. Why not add that family entertainment area, office, guest suite, or home theater you’ve been dreaming of?
Check out our list of Dos and Don’ts before you get started, and save yourself some headaches along the way.
Do: Check for Moisture and Water Issues
Before starting any renovation work in your basement, confirm that the space is dry and free from moisture. Check for signs of past water damage, such as water stains, dampness, or mold growth. If you notice any of these issues, address them before any renovation work begins. Ignoring moisture and water concerns can lead to serious damage to your basement, even affecting the structural integrity of your home. It’s much easier to address moisture now—before finishing work begins—than it is to have to tear out drywall, flooring, tile, etc., later.
Don’t: Ignore Building Codes and Regulations
Don’t expect to skirt around building codes and regulations. These codes are in place to ensure the safety of your home and its occupants. Failure to comply with building codes can result in fines or even legal action. Obtaining necessary permits and scheduling required inspections throughout the project is part of the process, and should be built into both your budget and job schedule.
Do: Plan the Layout Carefully
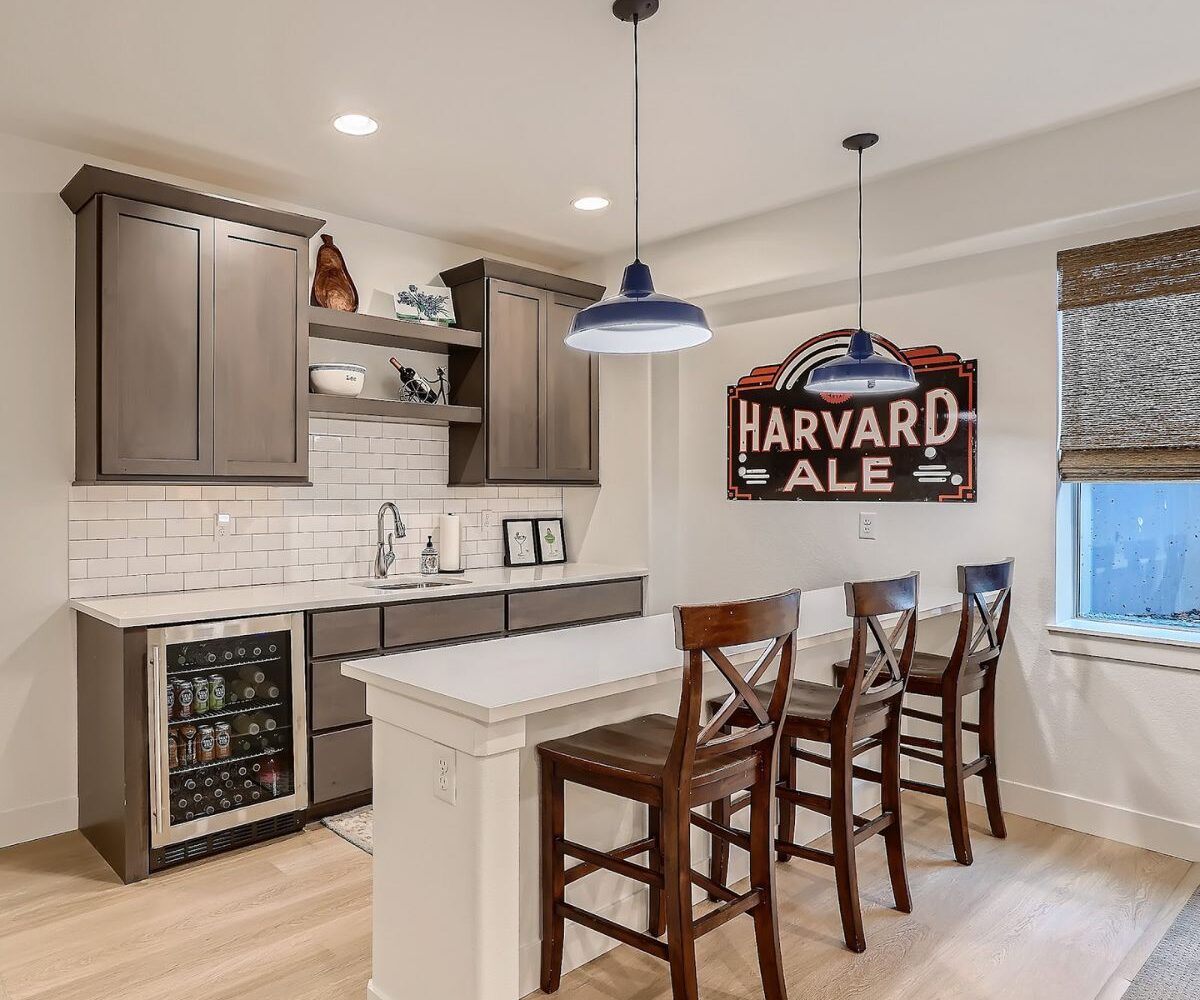
Before beginning construction, start with a thoughtfully-designed architectural plan. Think about how you want to use the space and what kind of features you wish to include. Consider the placement of walls, windows, doors, and electrical outlets. Plan the layout in a way that maximizes natural light and creates an open and inviting space. Consider the placement of bathroom and wet bar in relation to existing rough plumbing lines, and assess whether or not a second electrical subpanel may be required. Working with a professional architect ensures that you get a plan that will be drawn to scale and readable by the trades who will build the basement. Additionally, most municipalities require that a plan be submitted with the permit application.
Don’t: Forget About Lighting
Professional architectural plans include an electrical layout—an important aspect of the overall design and function of your new basement. This plan marks locations for can lighting, wall outlets and switches, and overhead fixtures. You’ll want to conduct an electrical walk with the electrician in the frame stage of the project to review placement of these items, as they can be easily moved at this stage if need be. At this time you may also discuss adding options such as dimmer or smart switches, and low-volt wiring for theater equipment and WiFi.
Do: Choose Durable Flooring
Even after you’ve damp-proofed the basement, the area is still inclined to be more humid than the rest of your home, which can make choosing the ideal flooring a challenge. Choose flooring material that is moisture-resistant and durable. Popular options include EVP (engineered vinyl planks), tile, and engineered hardwood. Carpet, however, is always a comfortable choice for concrete floors, despite not being water-resistant.
Don’t: Neglect Insulation
Insulation serves more than one purpose in the basement; it not only helps regulate temperature and humidity levels, but also provides a sound barrier between upper and lower levels when used in the ceiling. Installing fiberglass batt ceiling insulation at the time of a basement finish makes sense, as it’s much less expensive and time-consuming to do it then than it is to apply blown-in insulation after the fact. Some municipalities have varying codes relating to the R-rating of insulation required on exterior basement walls, though most all require some amount of exterior wall insulation. Check with your governing municipality to determine what is required in your area.
Do: Hire a Professional Contractor
Though it may be tempting to jump in and start yourself, do yourself a solid and hire a professional to finish your basement. You could watch a few YouTube videos and ask a friend to help on the weekends, but—let’s be honest—unless you’re BFFs with Chip and Joanna or The Property Brothers, you could end up with a nightmare reality show on your hands. You could always hire the cheapest contractor you can find, some guy running the project out of the back of his pickup truck, but then again you could end up with a half-finished project and an MIA contractor.
Or—you could call us. Sheffield has been in residential construction for nearly 50 years. We’ve got the experience, expertise, and trade relationships to build the basement perfectly suited to your budget and lifestyle. And after all, it really is less stressful to just sit back, relax, and watch TV than it is to be the featured guest on Rescue my Renovation.
Call us to day to schedule a no-obligation estimate, and let’s start designing your dream space: 303-420-0056.

